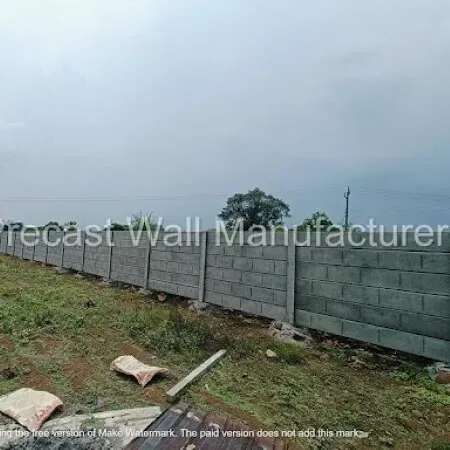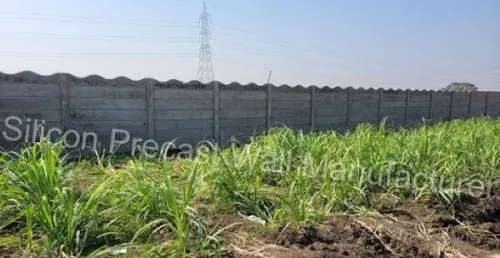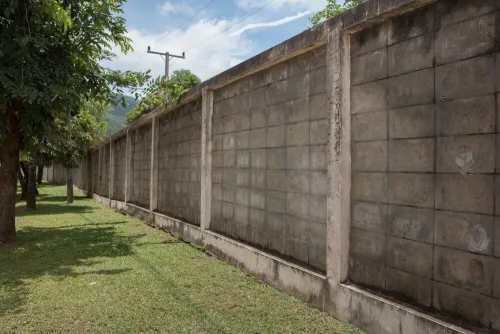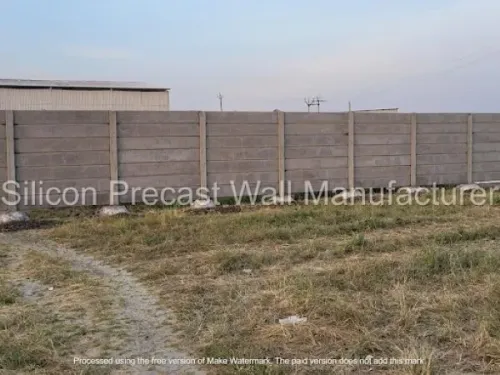
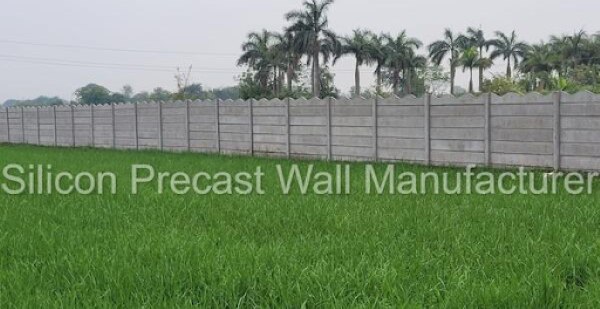
A six-foot wall cannot be approved from height and running-foot price alone. You need a verified boundary, a site-specific foundation and wind design, documented prestressing, and an inspection plan that covers delivery through final alignment.
Key takeaways
- Mark the title boundary and finished levels before ordering panels.
- Confirm road, drain, setback and neighbouring-plot constraints with a licensed surveyor.
- Specify six-foot height, soil conditions, slope, drainage and gate openings in writing.
- Inspect post alignment, panel seating, joints, plinth and damage before handover.
Check the Plot, Boundary and Local Permissions Before Ordering
Order only after a licensed surveyor marks the title boundary and records finished ground levels. An assumed compound line can place the wall inside a road-widening line, drain reserve, municipal setback, or neighbouring plot. These checks form the basic prestressed wall residential requirements for a Nashik site.
1. Confirm the boundary from the sale deed, approved layout and physical survey, including corner points, access lanes and any disputed edge.
2. Check with Nashik Municipal Corporation or the applicable local planning authority, and review current Maharashtra development-control regulations for wall height, gate and corner visibility, road access, obstruction and permission requirements.
3. Record soil type, filled ground, slope, rock, groundwater and existing drainage paths. Note uphill runoff, leaking water lines and paving that could trap water behind panels.
4. Define the six-foot height from finished local ground level at each post. On a slope, the lower side can expose far more than six feet; state whether the wall merely encloses the plot or retains soil.
5. Confirm delivery access, turning space, unloading position, overhead restrictions, nearby houses and working room for excavation and erection.
A retaining wall needs a separate design for earth pressure, surcharge, drainage, sliding and overturning; a standard boundary panel is not automatically suitable. Give the supplier the survey, photographs and levels before fabrication, and obtain written confirmation of the approved line, height, foundation assumptions and required permissions.
Define the Structural Brief for a Six-Foot Wall
A six-foot height alone cannot establish safety. The quotation must define the wall from finished local ground level and state the panel length and thickness, post spacing, maximum unsupported height, footing dimensions and depth, and the design wind pressure adopted for Nashik under IS 875 (Part 3).
Ask for these items in writing:
- Panel drawing showing dimensions, lifting points, joints, and the allowable span between posts.
- Post section, corner and gate-post reinforcement, connection details, and the foundation restraint assumed.
- Footing size, founding depth, concrete grade, reinforcement, and the soil bearing capacity used in design.
- Prestressing method, strand or wire details, concrete strength at transfer, curing record, and a batch-linked test or quality document.
- IS 456 and IS 1343 references, exposure class, nominal cover, and permissible crack width or service-stress criteria.
- Scope for corners, gates, level changes, drainage, and any surcharge from paving, vehicles, or stored material.
On a slope, require separate levels for the upper and lower sides; a nominal six-foot wall can expose much more at the lower side. The brief must also say whether panels retain soil. If they do, obtain a retaining-wall design covering lateral earth pressure, hydrostatic pressure, sliding, overturning, free-draining backfill, filter or geotextile, and outlets.
Weep holes alone do not convert a boundary panel into a retaining wall.
For 6 feet prestressed compound wall requirements, reject a quote that gives only a per-running-foot rate. Include whether an existing wall is removed, left independent, or connected after structural assessment; rigidly tying separate foundations can crack panels after differential settlement. Use this checklist for prestressed compound wall for requirements before accepting the design.
Match the Foundation to Soil, Slope and Drainage
Ordinary post holes are inadequate where the ground cannot provide uniform bearing or the wall faces lateral pressure. A six-foot height does not determine footing size: post spacing, exposed height, wind, corner and gate-post forces, soil bearing capacity, and foundation restraint also control the design.
- Black cotton soil: Found the footing below the active expansive layer, or remove and replace the affected soil. Use tied RCC footings or an engineered deep or under-reamed foundation where seasonal movement is significant.
- Uncontrolled filled ground: Do not pour into loose fill. Excavate to firm natural soil, compact approved replacement in measured layers, or use deeper foundations tied with a grade beam.
- Hard rock: Break or drill to create a level bearing seat, then dowel and grout the post foundation into sound rock. A shallow collar over uneven rock can rotate.
- Sloping plots: Step the footings with the terrain and define the six feet from each local finished ground level. Check the lower side for greater exposed height and soil retention.
- Waterlogged ground: Establish the groundwater level, divert surface water, and design for buoyancy, sliding and reduced bearing. Use a drained, properly reinforced footing rather than an unprotected hole.
Backfill, uphill runoff, paving or leaking pipes can create hydrostatic pressure behind panels. If the wall retains soil, specify free-draining backfill, filter fabric, a designed outlet or weep system, and separate checks for earth pressure, surcharge, sliding and overturning. The foundation brief must state founding depth, allowable bearing pressure and treatment of weak zones.
Verify Prestressing and Compare Wall Systems Before Selection
A genuinely factory-prestressed panel has evidence behind it, not just “prestressed” printed on a quotation. Thickness alone proves nothing. For a prestressed concrete wall in Nashik, ask for the panel drawing, strand or wire standard, concrete grade, stated design load, and batch-linked quality records.
Request these documents before comparing prices:
- Prestressing strand or wire specification, including IS 14268 compliance where applicable
- Jacking or stressing records and the release procedure
- Transfer strength, curing records, and concrete test results
- Reinforcement details, panel length, allowable span, and post connection
- Design basis referring to IS 1343, with wind and seismic checks
Silicon Precast Wall Manufacturer should identify which records belong to the delivered batch, not provide an undated catalogue sheet. Inspect a sample panel for consistent edges, straightness and cracking, but do not treat appearance as proof of prestressing.
| Option | What it offers | Main limitation |
|---|---|---|
| 50 mm panel | Lower weight and material use; suits a verified span and restrained site | Less tolerance for impact, handling damage or excessive span |
| 60 mm panel | Greater section depth and handling stiffness | Heavier; still depends on posts and foundations |
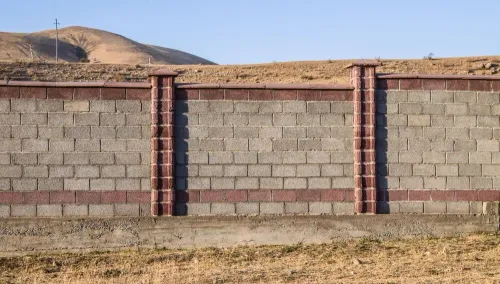
| Masonry wall | Flexible detailing and repairs using local materials | Slower construction, heavier foundations and more cracking on filled ground |
| Ordinary reinforced RCC panel | Conventional reinforcement and familiar site repairs | May have weaker crack control and handling performance than a true prestressed panel |
Have an engineer check gates, corners, post foundations and any retained soil; panel prestressing cannot correct foundation rotation or failed connections.
Related products
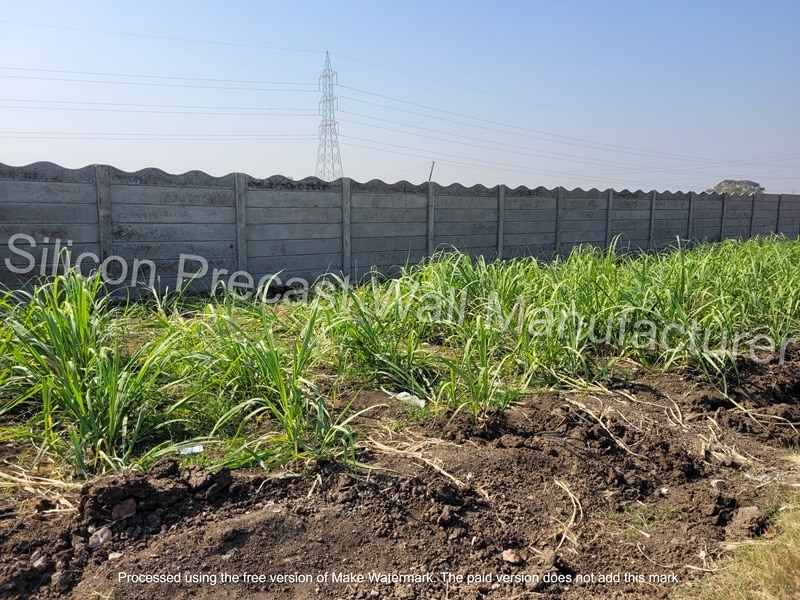
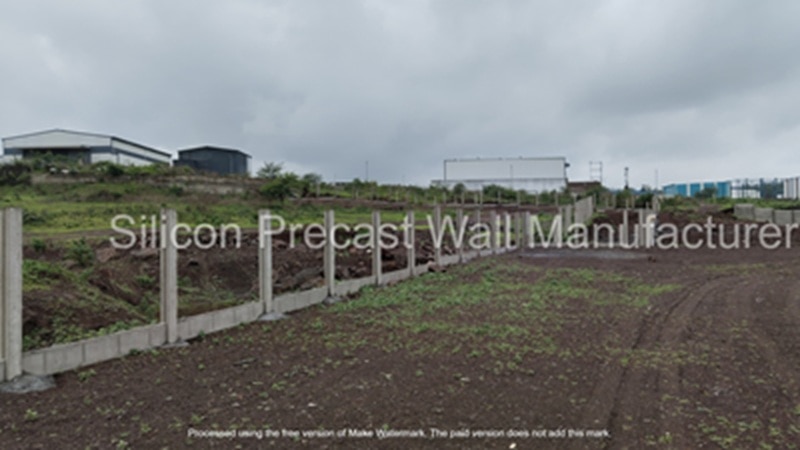 | Prestressed Compound Wall 6ft Prestressed Compound Wall Wall Height 6 ft Panel Thickness 60 mm Built Type Modular Usage/Application Industrial Application Residential Color Grey Brand Silicon Precast... |
 | Compound Wall Construction Services Compound Wall Construction Services Professional construction of compound walls for residential, commercial, and industrial properties Built using high-quality materials like bricks,... |
Control Installation Risk and Inspect the Finished Boundary
Set out the work from the surveyed title boundary, not from an existing wall or an assumed compound line. Confirm the road-widening line, drain reserve, setback, gate position and local authority requirements before excavation.
1. Mark post centres, corners, gate posts and finished ground levels with string lines. Check the line again against the survey before digging; a misplaced first post shifts the entire boundary.
2. Remove, retain independently or connect an old wall only under an engineer’s detail. Excavating beside its footing can cause collapse, while rigidly tying two foundations can crack panels after differential settlement.
3. Install foundations and posts before inserting panels. Keep post spacing, plumb and slot elevation within the drawing, and do not use panels to bridge a post that has rotated or settled.
4. Provide the designed drainage path before backfilling. Use free-draining material, filter fabric and specified outlets where soil is retained; weep holes alone do not turn a freestanding panel into a retaining wall.
5. Check each delivery before unloading: confirm panel count, dimensions, batch or curing record, lifting points and visible damage. Reject panels with cracks, exposed strands, broken corners or impact marks, and record photographs against the delivery note.
6. Lift from the specified points without dragging or striking post slots. Stack panels on level, aligned supports, then inspect the completed line for plumb, level, full slot seating, open joints, cracked edges and gate-post movement before handover.
These checks address prestressed compound wall problems that installation speed can otherwise conceal. Water pooling, unsupported backfill or a leaning post needs correction before final payment.
Frequently asked questions
What should you check before ordering a prestressed compound wall in Nashik?
Have a licensed surveyor mark the title boundary and record finished ground levels. Check road-widening lines, drain reserves, municipal setbacks and neighbouring boundaries before fixing the wall line.
What belongs in the structural brief for a six-foot prestressed wall?
State the finished wall height, panel and post arrangement, gate openings, corner locations, ground-level changes, wind exposure and any surcharge from soil or nearby construction.
How do soil, slope and drainage affect the wall foundation?
Use the site soil, level differences and water-flow path to set post embedment, footing details and drainage provisions. Do not bury panels where retained soil or standing water can load them.
What prestressing details should you verify before selecting a wall system?
Ask for the panel dimensions, concrete grade, reinforcement or prestressing details, curing records, allowable handling limits and installation drawings. Compare these with the site loads and access conditions.
Which installation defects cause prestressed compound wall problems?
Common risks include an incorrect boundary line, out-of-plumb posts, unsupported panel edges, uneven foundations, blocked drainage and damaged panels. Inspect alignment, seating, joints, corners and gate openings before handover.
Related product
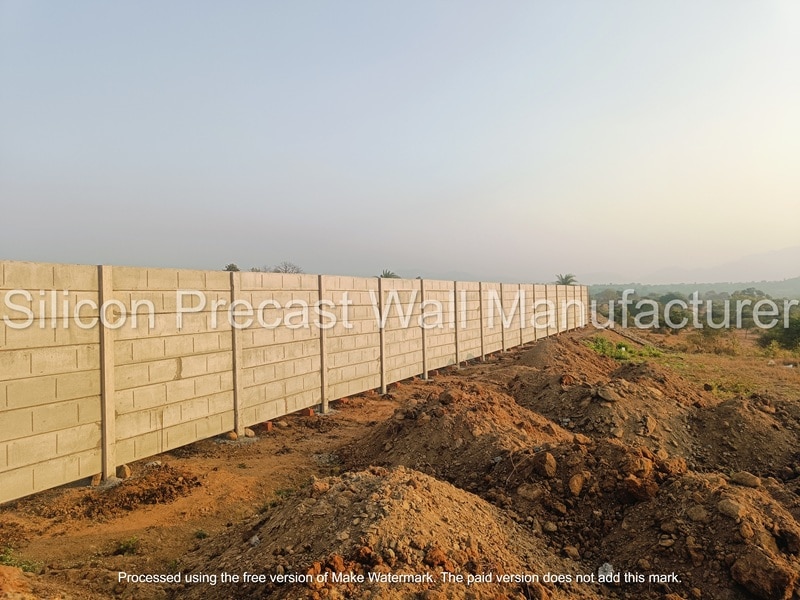 | Prefabricated Compound Wall Prefabricated Compound Wall Material Concrete Type Prestressed Height 6 Feet Usage/Application Security Thickness 50 mm Built Type Modular Build Color Grey Brand Silicon Precast... |
Keywords